How to Set Up Your New Cricut Machine (Maker, Explore, or Joy): A Step-by-Step Guide
Congratulations on your new Cricut machine! Whether you've chosen the versatile Cricut Maker, the user-friendly Cricut Explore, or the compact Cricut Joy, you're about to embark on a creative journey like no other. In this guide, we'll walk you through the setup process to ensure a smooth start to your crafting adventure.
1. Unboxing Your Cricut Machine: Begin by carefully unboxing your Cricut machine. Remove all packaging materials and ensure that all components are present, including the machine itself, power cords, cutting mats, blades, and any included accessories.
2. Choosing the Right Location: Select a suitable location for your Cricut machine. Ensure there's enough space for the machine to operate comfortably and for you to work around it. Ideally, choose a well-lit area with access to power outlets and your computer or mobile device.
3. Connecting to Power: Plug in the power cord to your Cricut machine and a power outlet. Turn on the machine using the power button if applicable (Cricut Maker and Explore models).
4. Connecting to Your Computer or Mobile Device:
- For Cricut Maker and Explore Models:
- Connect your Cricut machine to your computer using the USB cable provided.
- Alternatively, you can set up a wireless Bluetooth connection if your Cricut model supports it.
- For Cricut Joy:
- Download the Cricut Design Space app on your iOS or Android device.
- Enable Bluetooth on your device and follow the prompts to pair it with your Cricut Joy.
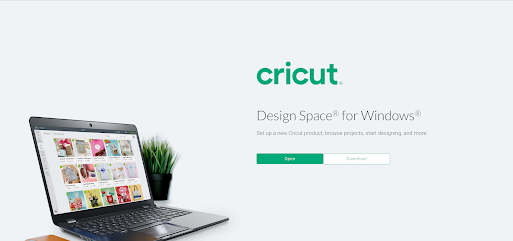
5. Installing Cricut Design Space:
- Visit the official Cricut website to download and install the Cricut Design Space software on your computer.
- If you're using a mobile device, download the Cricut Design Space app from the App Store (iOS) or Google Play (Android).
6. Creating a Cricut Account:
- Launch Cricut Design Space and create a Cricut account or log in if you already have one.
- Having an account allows you to access projects, designs, and save your creations.
7. Registering Your Machine:
- In Cricut Design Space, navigate to the "New Machine Setup" section.
- Follow the on-screen instructions to register your Cricut machine with your account. This step ensures that your machine is properly connected and linked to your profile.
8. Calibrating Your Machine (Cricut Explore Models Only):
- If you're using a Cricut Explore model, you may be prompted to calibrate your machine. Follow the instructions provided in Cricut Design Space to ensure accurate cutting.
9. Loading Cutting Mats and Materials:
- Place your chosen material on a compatible cutting mat and load it into the machine according to the instructions provided in the user manual.
- Ensure the material is properly aligned and adhered to the mat to prevent errors during cutting.
10. Updating Firmware (If Necessary):
- Check for any firmware updates for your Cricut machine in Cricut Design Space. Keeping your machine's firmware up to date ensures optimal performance.
Conclusion: By following these steps, you've successfully set up your new Cricut machine and are ready to dive into the world of endless crafting possibilities. From intricate paper designs to personalized apparel, your Cricut is your gateway to turning imagination into reality. Enjoy your crafting journey!
Remember to consult your machine's user manual for specific setup instructions and troubleshooting tips. Happy crafting!
Visit - Cricut.com/setup
Comments
Post a Comment